Hello and welcome!
I am Vaishali Rathore and currently in 4th month of my pregnancy. As a soon-to-be mom I understand how exciting and terrifying it is to learn you’re pregnant. Taking a pregnancy test at home may be a very personal and emotional experience. Allow me to offer my personal step-by-step tutorial for using a pregnancy kit at home, just as I did when I found the miracle growing inside of me. I was happy as well as scared at that time 🙂

Step 1: Selecting the Right Pregnancy Kit
Make sure you have a dependable and accurate pregnancy kit before you begin. Look for a reputable brand at your local pharmacy or drugstore. To confirm its efficacy, read reviews and check the expiration date. Remember that a high-quality pregnancy kit can make or break accurate results. I confirmed my pregnancy with the help of Preganews kit.
Step 2: Timing is Key
The timing of a pregnancy test is critical for obtaining accurate results. Most pregnancy kits function best first thing in the morning because your urine contains a higher concentration of the pregnancy hormone hCG. If you can’t wait until morning, consider holding your urine for a few hours before testing.
Step 3: Gather Your Materials
Gather everything you need in a private and tranquil area (most probably your washroom) now that you have the pregnancy kit and it’s time to test. Prepare the pregnancy kit, a clean disposable cup (if the package does not include one), and a timer or watch.
Step 4: Carefully read the instructions.
Before you open the pregnancy kit, carefully read the instructions. Each brand’s test procedure may differ slightly, and it’s critical to understand the process to acquire the most accurate findings.
Step 5: Take the test
It’s time to take the test now that you’ve read the instructions. Begin by collecting your urine, if necessary, in a clean disposable cup. Then, either dip the testing strip into the urine or place a few drops of pee on the designated region of the test strip with a dropper.
Step 6: Wait Patiently
Waiting for results can feel interminable. Set your timer according to the kit’s instructions and try to distract yourself during this period. To calm your anxiety, read a book, watch a short TV show, or take deep breaths.
Step 7: Interpret the Results
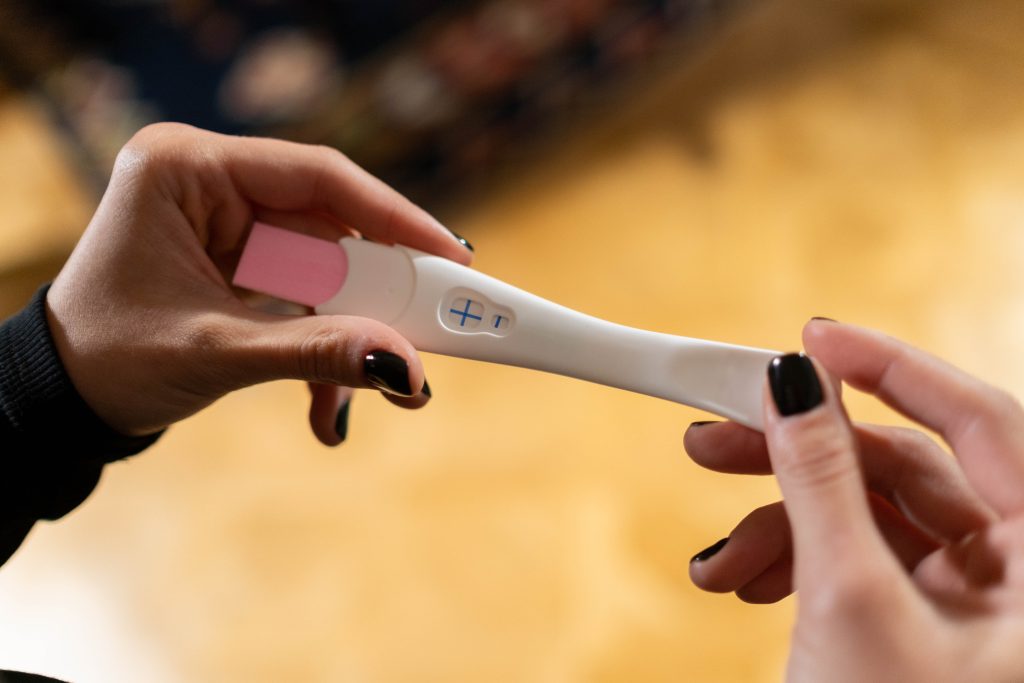
When the timer goes off, it’s time to look over the results. To discover if you’re pregnant or not, look for specific indicators on the test strip. A positive result usually has two lines, whereas a negative result only has one. Always follow the instructions written on the packaging for interpreting the results.
Step 8: Dealing with the Results
If the test results in a positive result, you’re pregnant! It’s normal to experience a range of feelings, including joy, excitement, and even some nervousness. Allow yourself some time to process the news before scheduling an appointment with your healthcare practitioner to confirm the pregnancy and discuss prenatal care.
If the test results are negative, try not to be discouraged. False negatives are possible, especially if you test too early. If you still suspect you are pregnant, wait a few days before taking another test or consulting your doctor.
Taking a pregnancy test at home can be both exciting and frightening. Remember to be patient, attentively follow the instructions, and allow yourself time to analyze the results. Whatever happens, know that you have the strength and support you need to navigate this wonderful adventure of parenthood. Best wishes for your pregnancy test, and may your dreams come true! Do remember a doctor is the one who can confirm it with 100% accuracy as such kit can also give wrong results. Do not forget to visit the doctor 🙂


Congratulations Vaishali. Do pray for me also.
Will keep your wish in my prayers. Thanks love!